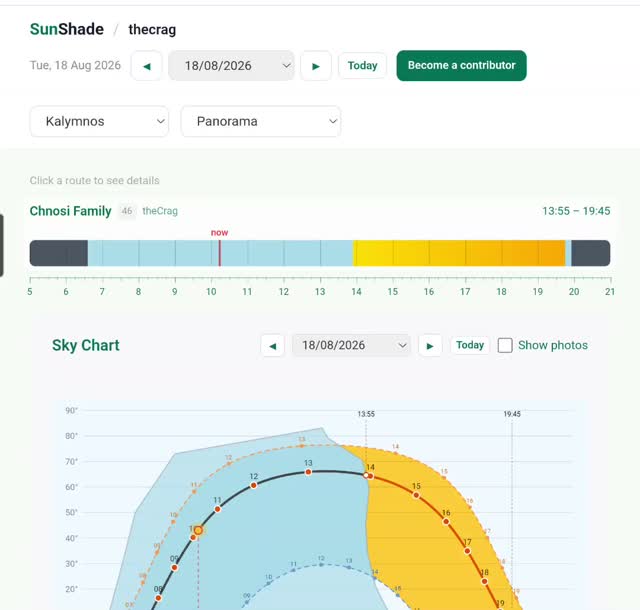
Trace the skyline once, know the shade all year
SunShade overlays the sun’s path on your camera view. Trace the outline of the terrain around you, and it works out exactly when your crag falls into shade — for today or any date.
First-time setup
- Install the app — download sunshade.info/app/sunshade.apk on your Android phone, tap the downloaded file, allow installs from that source when Android asks, and choose Install anyway if Play Protect warns. That warning is expected for an app shared outside the Play Store.
- Open SunShade Tracer and allow Camera and Location — both are required.
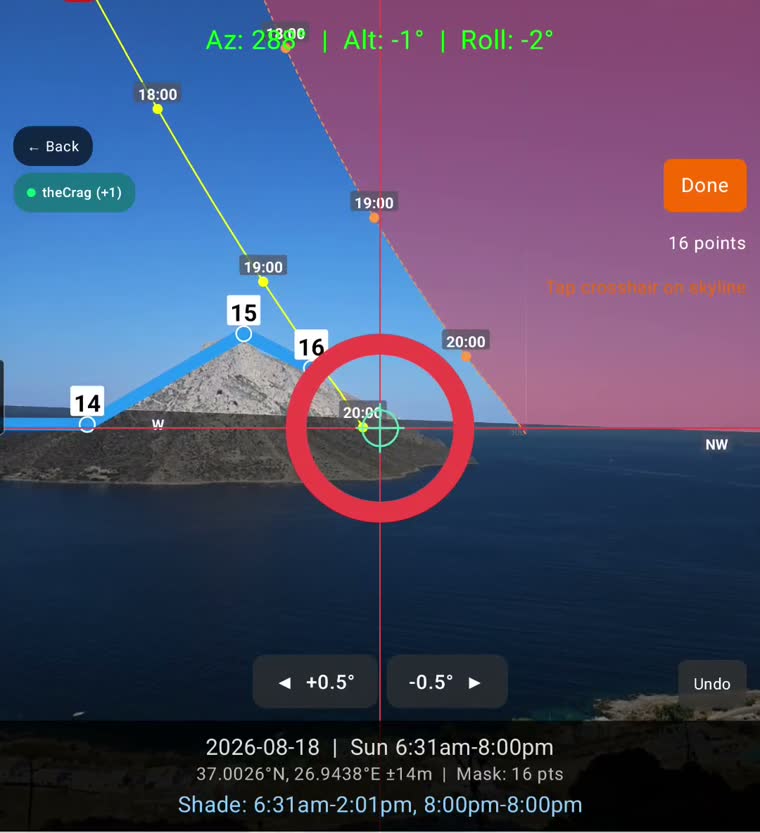
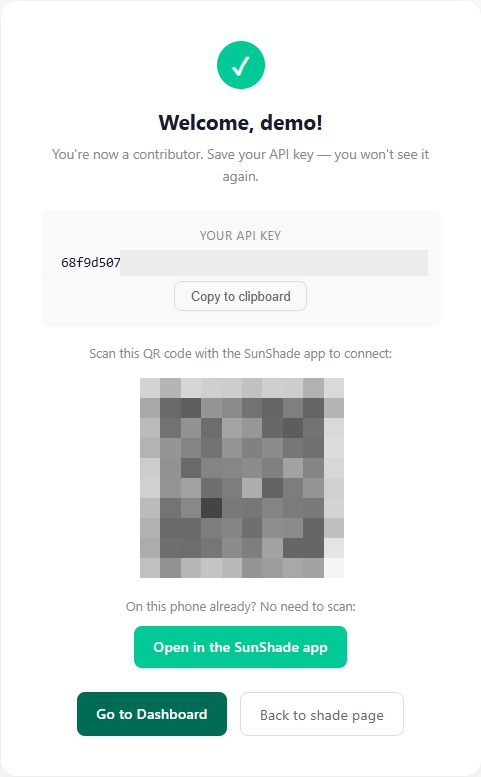
- Get your QR code — go to sunshade.info/thecrag/contribute and sign up. Your personal connection QR appears on screen.
- Connect the app — signing up on the same phone? Just tap Open in SunShade Tracer on the sign-up page and you’re connected in one tap. If the QR is on another screen, open the app instead — it says No atlas connected — and tap Scan QR Code. Keep your QR and key to yourself — they are your personal upload key.
- That’s it — the region list loads and the orange Trace button appears. You only do this once.
Reading the view
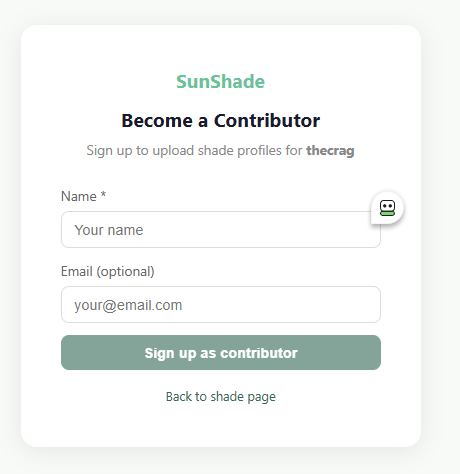
The tracing screen, decoded. The dashed orange arc is the sun’s midsummer maximum and the dashed blue its midwinter minimum: red sky above the first and blue below the second never see the sun, so only the band between the arcs matters. The app leaves that band clear — plain camera view — and your trace just has to be exact where the rock edge crosses it. The solid yellow arc is the selected day’s path with its hour markers, and the yellow disc is where the sun is right now. Always begin at Start and finish at End.
- Solid yellow arc — the sun’s path for the selected day, with hour markers.
- Grey arc segments — the sun is behind your traced terrain: shade.
- Dashed orange arc — midsummer, the highest path of the year.
- Dashed blue arc — midwinter, the lowest. Between the two dashed arcs is everywhere the sun can ever be.
- Darkened band — below the horizon.
The shade schedule at the bottom of the screen sums it up — e.g. Shade: 6:12–9:45, 16:30–20:30.
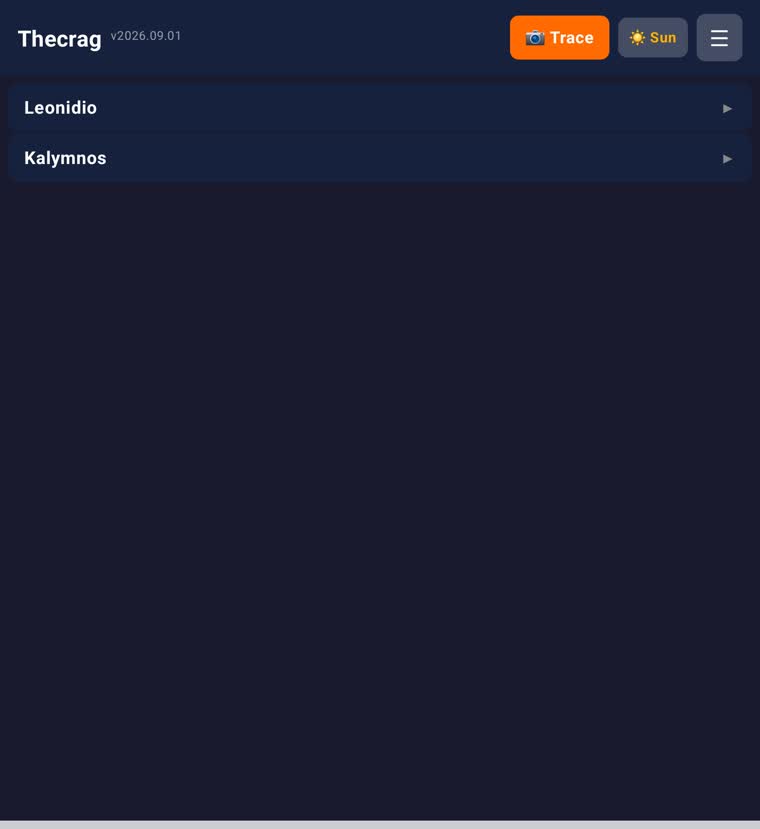
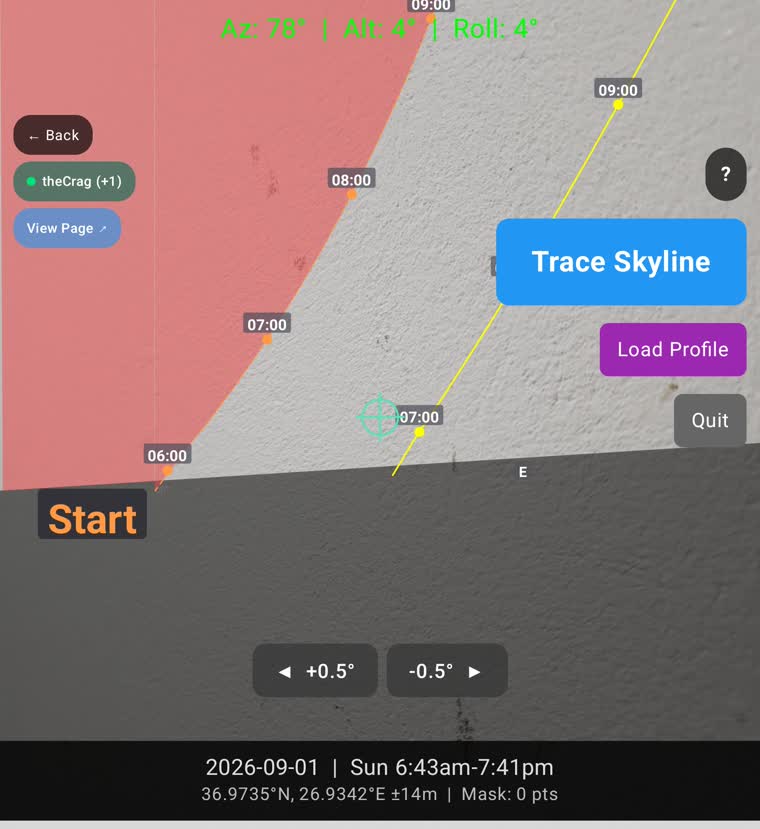
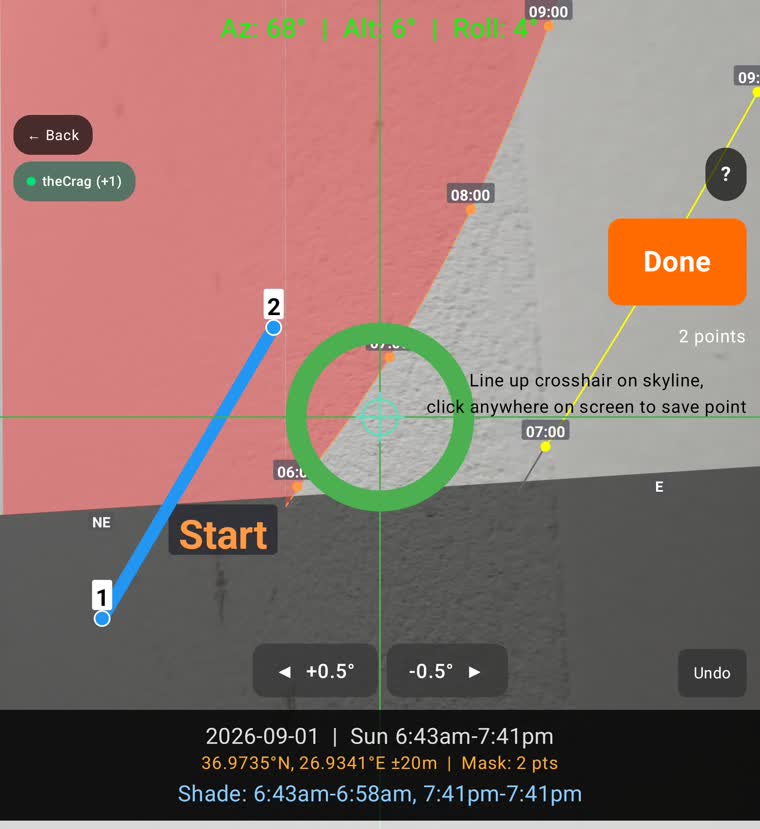
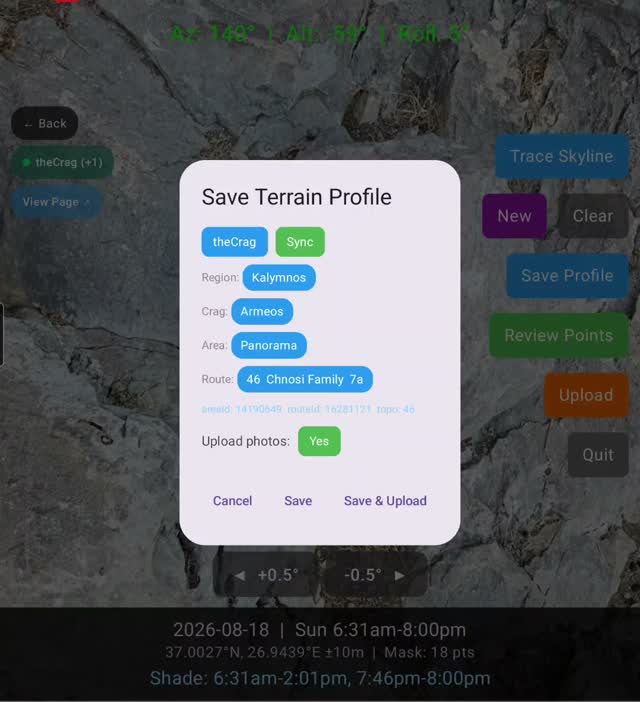
Steps shown on the current version — and any horizon works for practice, even a wall indoors. The red tint marks sky the sun never reaches.
Before you start
- Stand at the spot you care about — the base of the route or the sector. The trace is valid for where your feet are.
- Allow camera and location when the app asks. Both are required — the sun’s position depends on where you stand.
- If the arcs look shifted, wave the phone in a figure-8 for a few seconds to calibrate the compass, and keep it away from metal.
The trace
- Tap Trace Skyline — the button turns orange.
- Pan left until you find the orange Start marker at the horizon. The sun never rises left of it.
- Aim the white crosshair exactly at the skyline — the line where rock, ridge or trees meet sky.
- Tap the screen to capture the point. A short buzz confirms it.
- Sweep along the skyline towards End, capturing a point at every bump, notch and change of slope. Straight stretches need only a few.
- Undo removes the last point. Tap Done when you reach the End marker.
- Check the photos with Review Points, then Save & Upload.
Watch a real trace
Two and a half minutes at a Kalymnos crag: finding Start, tapping point by point along the cliff line, and the shade schedule appearing at the bottom as the trace grows. (Recorded on an earlier version — the buttons are bigger now.)
A good trace
- Capture wherever the skyline changes direction; skip along the flat stretches.
- Include anything that blocks sun — a big roof, a tower, the wall behind you, tall trees.
- Move the phone slowly and steadily; give the compass a moment to settle before each tap.
- Not sure about a point? Tap Undo and take it again — precision beats speed.
After the trace
Save & Upload stores the profile on your phone and on sunshade.info, where the shade times appear per route. Load Profile brings a saved trace back later — no need to trace a crag twice.